
Cleaning Up a Delta Band Saw and Installing New Tires (Model 28-185)

I won't bore you with the details of my Craigslist/Freeserve/OfferUp/LetGo searches. Suffice it to say, some people are nuts. Some crazy low and even more crazy high offerings for what in many cases were saws that may be dangerous or unusable.

I figured I was going to need to see how to adjust it so I grabbed a copy of the instruction manual for the 28-185 8" Bench Band Saw from MikesTools.com. (A fantastic source for manuals.) I was actually pretty giddy when I turned it on and it purred. Okay, time to clean it up and start making fiddly stuff!


So I won't go through each step but let me tell you what I used to clean the saw:
- Lacquer Thinner - (Basically acetone but with additives to slow the drying time.) I used it to get the adhesive and residue left from the old tires off of the wheels. Use in a well ventilated place unless you want to go to a happy place and pass out. Also, wear gloves.
- Denatured Alcohol - I didn't want to leave any of the harsher residues behind so I used this to clean the wheels of lacquer thinner and parts I dipped in rust remover.
- Tool and Bit Cleaner - I used it as a general cleaner. It seems very mild and I figured, good enough for blades, good enough for the other metal bits.
- Krud Kutter The Must for Rust rust remover - Yeah... this stuff worked crazy well. It did take the paint off of the rusted parts as well but hey, no complaints. If (when) they get rusty again, I'll just clean them a second time.) Also... Krud Kutter... sorta Kinda Kinks if you ask me. No doubt named by a Well Respected Man.
- Alumaslick Spray - This was used to loosen up the mechanics on the Dancing Man. music box. The vast majority of the saw is actually aluminum and this is labeled as a lubricant and preservative. So I used it to give a quick coat on pieces once they were fully cleaned.
| Before | After |
 |
 |
The top wheel came off with a large flat head screwdriver. The bottom wheel had a small Philips head that immediately stripped when I went to remove it. It eventually came off and was replaced with a hex head screw (3mm like almost all the other screws on the saw.) . It attaches directly to a shaft on the motor and it has a small key that locks the wheel to the shaft. |
|
 |
 |
The upper guides looked awful but after a pretty quick cleaning they really looked brand new. The support bearing really loosened up after the cleaning and now spins freely. The bottom guides were actually in relatively good shape. I think they were more protected from the elements since they were inside the case. Here they are after being cleaned. |
|
 |
 |
| This is a close up of what the Krud Kutter rust remover does. The screws did have black paint on them but that was removed along with the rust. It is really just a 10 or 15 minute soak in the solution and then I cleaned them off with the denatured alcohol and bit cleaner. They were finished with a light coat of the Alumaslick lubricant. |
|
 |
 |
| The table is made from aluminum so there was no rust but plenty of dirt. When removing the angle guide from the table, I was pretty shocked to see that wasps had taken residents in the saw at some point. Those are Mud Dauber nests. So they apparently don't sting often but they kill spiders, and I sorta like spiders. They have also caused at least two fatal airplane crashes. Seriously... I'm not making that up. | |
 |
 |
The upper guides are raised and lowered by a pretty solid gear adjustment. There is a plastic guide that thanks to a spring keeps constant pressure between the toothed rod of the upper guide assembly and this adjusting gear. The gear itself is held in with two tiny set screws that attach it to the adjustment knob. Even though parts of this are plastic, it cleaned up great and seems very solid and has held up well over 25 years (some of which appear to have been pretty rough.) |
|
 The latches for the door seemed to be a lost cause until I took them out and cleaned them. They are basically a hinged screw that goes through a rubber washer. They didn't work at first because there was so much rust on the screw it couldn't hinge properly. They had also been tightened too much.on the rubber washer. You need enough play so that when the latch is pushed down, it can pull the nut and washer on the end of the screw back to compress the rubber washer and catch against the round hole in the bracket attached to the frame. Once cleaned and adjusted, they work great. The latches for the door seemed to be a lost cause until I took them out and cleaned them. They are basically a hinged screw that goes through a rubber washer. They didn't work at first because there was so much rust on the screw it couldn't hinge properly. They had also been tightened too much.on the rubber washer. You need enough play so that when the latch is pushed down, it can pull the nut and washer on the end of the screw back to compress the rubber washer and catch against the round hole in the bracket attached to the frame. Once cleaned and adjusted, they work great. |
|
 The biggest problem with the saw was the condition of the tires, I ordered new tires from Sulfur Grove Tool. They have quite an assortment of urethane band saw tires. They also have a wicked cool video on how to get your tire on the wheels with a super handy jig. The biggest problem with the saw was the condition of the tires, I ordered new tires from Sulfur Grove Tool. They have quite an assortment of urethane band saw tires. They also have a wicked cool video on how to get your tire on the wheels with a super handy jig.If you are going to install new tires, you really should watch the video linked above, but in general the idea is... |
|
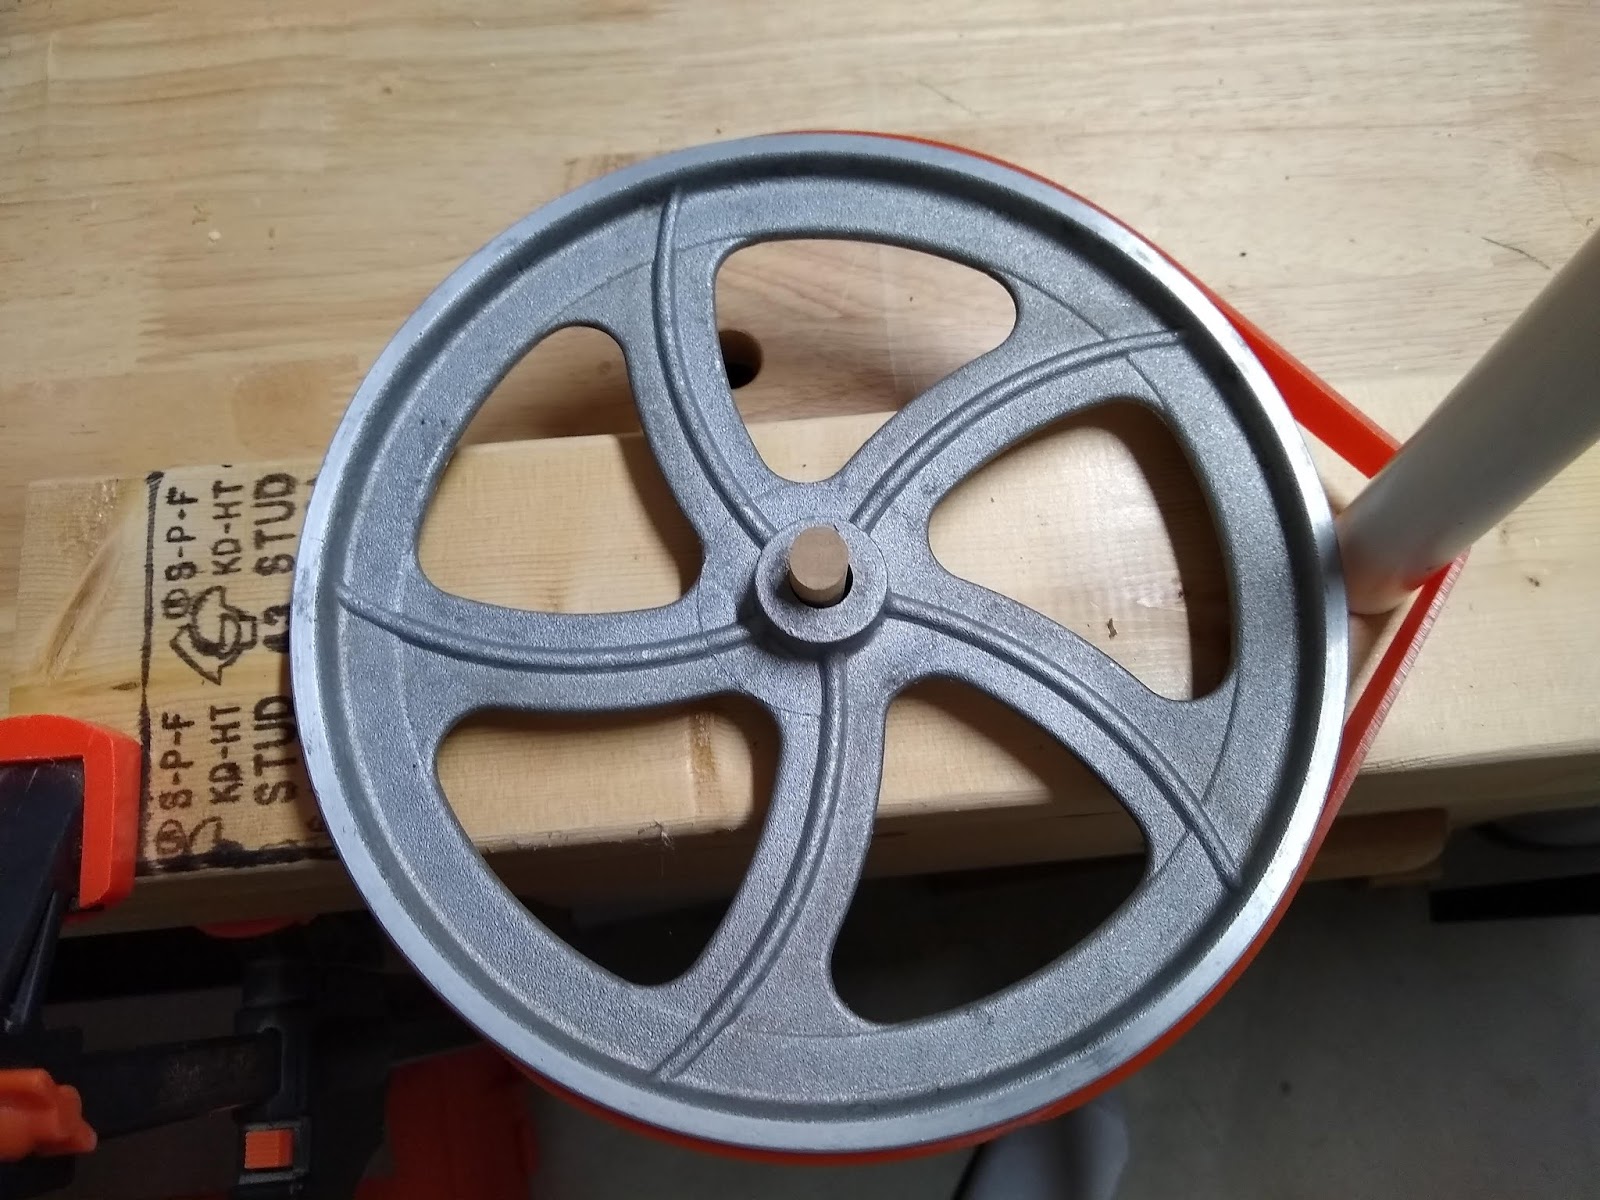
| Take a 2x4. Clamp it to a bench. Put the wheel on there and mark the center and a spot about 3/4" from the outside of the rim. Then drill two holes in it. |  |
| My holes were 7/16" and I put lengths of 7/16" dowels in there, The one on the outside edge of the rim was drilled at a very slight angle. |  |
| Now put the wheel over the little dowel and a piece of PVC (in this case 1/2") over the other dowel. This will work like a bearing. |  |
| Then slip your tire around the PVC and start to fit and stretch it around the wheel. Take your time and just keep feeding it around the wheel. The dowel/PVC bearing gives you a third hand. A hand that holds the tire way stronger that you could ever hold on your own. |  |
| The band is TIGHT. It takes a fair amount of effort to get it on but this jig really worked. No heating up ties or worrying about damaging them. The first wheel took a couple of tries but only took a few minutes. I knew what to do with the second one and it probably took less than a minute or two to get on. |
 |
| After it is on, remove the PVC sleeve and then the dowel. Use the PVC pipe to smooth the tire into place and make sure it is properly seated in the wheel groove. |  |


So there you go. Maybe I could have spent another week or two looking to save another $10 or $15 but then again, maybe I would have gotten something in worse condition. The clean up effort was fun and very satisfying. I also feel like I know every inch of this saw now. Looking forward to making a lot of sawdust and hopefully a lot of toys and memories as well.


Nice work, we wait for new posts
ReplyDeleteExcellent post!
ReplyDeleteNous vous recommandons de remplacer les pneus dès que possible et de nettoyer la scie avec un chiffon sec, suivi de quelques gouttes d'huile sur la lame.
ReplyDeleteThis is helpful, thanks for all the details. I have searched online for a while and cannot find any information on a part of this saw and wanted to see if you would be willing to share your thoughts. It seems I need just a tad more tension in my blade to achieve 14" deflection. I cannot turn the tension handle anymore and it was very difficult to turn it to this point, had to use a large pliers. All this to say I see a hex screw and some adjustment looking parts on the back wall of the saw behind the top wheel...I have tried to move in any way and can't. Do you have any idea what that is for and if I should even be messing with it? Not in the manual. Thanks much✌️😊
ReplyDeleteSorry - I wish I could help you on this one, but I no longer have this saw. Best of luck
DeleteWhy did you get rid of it? I'm trying to assess whether to put any money into the same model that someone gave me.
DeleteIt was a good little saw. After a couple of years I noticed the motor getting hot. I hadn't noticed it getting hot before but it wasn't just warm, it was hot to the touch after extended use. I was hemming and hawing and my wife ended up buying me the Wen 9" saw and while it probably wouldn't be something I'd rely on to pay the bills, it has worked perfectly for my type of work. No regrets and it is very affordable.
Delete