Showing posts with label Grasshopper Toys. Show all posts

Monday, January 1, 2018

Making a Toy Grasshopper from a Sycamore (Log to Toy)

Forget about Farm to Table. I've finally entered the world of Log to Toy. These grasshoppers were the first toys I've made where the main parts of the toy were from a log as opposed to some finished piece of lumber I had acquired.

Here's how it happened...
About a year and a half ago I was walking to my car and passed a public park. There on the sidewalk was a big pile of rather substantial Sycamore logs. They had just been cut that day and were piled up to be turned into mulch or some such inglorious fate.

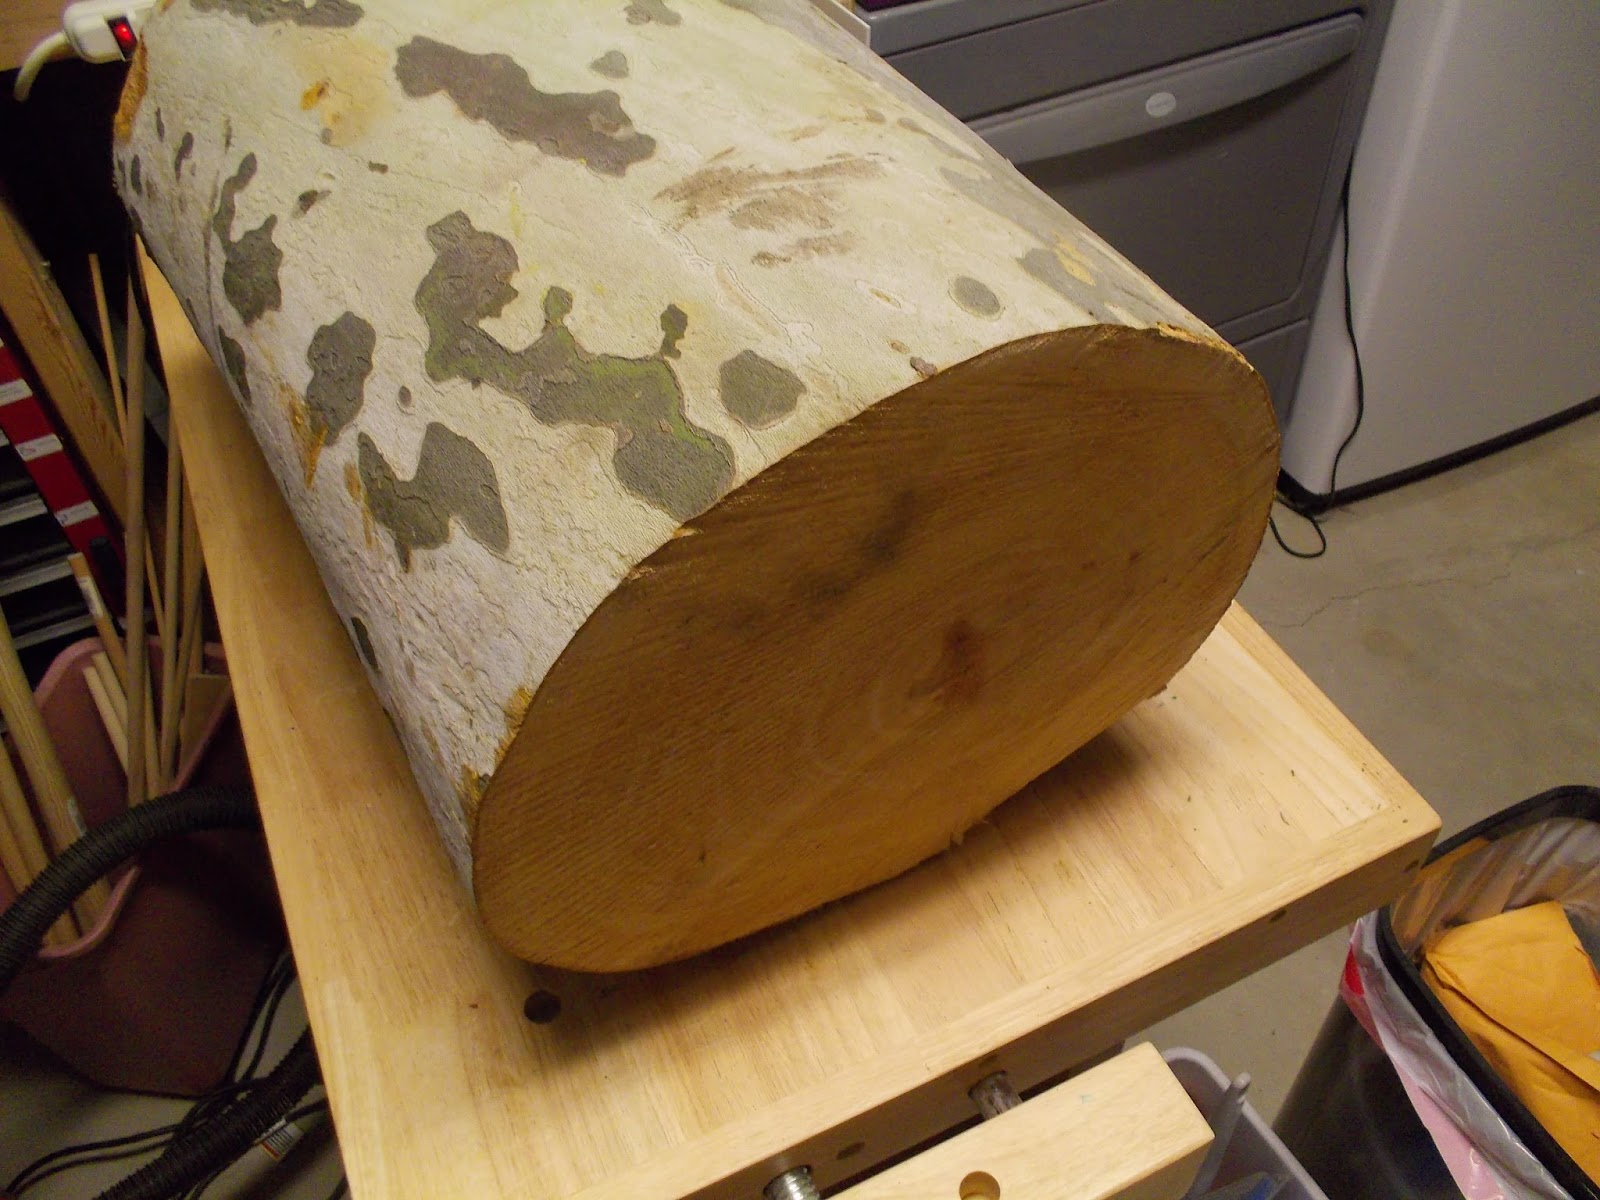
I pondered a few moments about what I would actually do with one of those logs. A quick interwebs search on my phone (crazy world huh?) said that Sycamore are pretty much impossible to split but good for carving spoons out of. Ummm..okay. I am sorta interested in learning to carve and spoons are a pretty practical thing to have around. So next thing I know I'm hauling a 20"x 14" log that must have weighted 85 gazillion pounds into my car.

When I carried it into my house and announced I was going to make a spoon out out it, Mrs Toy Making Dad gave me the "his descent into madness is accelerating" look. I painted the ends with latex paint and set it aside. I dreamt of spoons and ladels that night.

As to those know-it-alls who say that Sycamore can't be split I say... you guys are absolutely right!

The crime scene photo
It was an exercise in brute force and pure stupidity to eventually get it in half. It took the better part of a weekend using a chain saw, a maul, iron wedges, hand saws and wooden blocks. I'm not kidding, nothing like using the wrong tool for the wrong job. It was a mess but it gave me something to work with. It is the nature of the grain that prevents it from splitting. It also makes it warp like crazy when drying unless the pieces have been quartersawn.

The only thing better than having a high quality bandsaw is having a friend with a high quality bandsaw. So I dropped Crawfish a line. I whipped up a simple sled to fit his amazing Rikon bandsaw and then he and I spent a few hours in his dungeon cutting the log into boards. It was a ridiculously good time.

Somehow we managed to quarter saw some of the sycamore and my jaw, and his claws, just about hit the floor. Wow. The grain was like nothing we had ever seen. (Well, at least not on this planet.) So that got me thinking. (Which is usually pretty dangerous.) Yes, I can experiment with spoons but the pattern on some of the 1 1/2" thick board was pretty amazing. Seemed a waste not to show it off.

When I got the wood home, I sealed the ends with some Anchorseal that Crawfish generously shared with me. When it was one big log, I had just used some leftover latex paint. It is super important to seal the end grain of green wood with SOMETHING otherwise you will get end grain checking/splits. Don't believe me? Check (hehehe see what I did there?) out these two sides of the same piece of wood. The splits showed after just a couple of weeks.

Sealed

Not Sealed


So I stacked and "stickered" (put spacer sticks to allow airflow around the wood) the sycamore boards and put them on a shelf out of the way to dry over the next few months.

Fall rolled around and my neighbor sold me his Jet Joiner/Planner combo machine and one of the first things I tackled was the sycamore boards. I decided to make some grasshopper toys out of them since Christmas was coming up. (Here is a post on how I make those toys.)

According to my moisture meter the boards were ready. The Jet was super easy to use and in no time I had some sycamore boards that were exactly 1 1/4" thick and had a side that really showed off the quartersawn grain pattern. The wood cut and sanded fine. I had one piece that showed a little tear out on the grain but I'm not ready to give up on that piece quite yet. 

I experimented a bit with finishes again. From bottom to top these are unfinished, beeswax and mineral oil and then Danish Oil "Natural" along with some beeswax and mineral oil. Beeswax and mineral oil is non-toxic and easy to work with.


They toys went together super easily. The legs ended up being red oak left over from my neighbor's shed. He got an amazing deal on 1x6 boards from a family run sawmill on MD's Eastern Shore. Whole 8' boards were just a few dollars each and it really goes to show the price difference between buying finished lumber and "making your own." Yes it has to be dried and surfaced, but still, this is a hobby and I've got time. I don't always have money. Just saying.


I've gone on several times about how much I like using the beeswax and mineral oil finish for toys. I believe these wheels are birch (I get them from Woodworks Ltd.) Look at the difference it makes and all without any fumes or added stains.

So not 100% Log to Toy but I don't see myself turning pegs that I can buy for 5 cents each or making dowels anytime soon. Maybe I should raise my own bees though to get that beeswax...

As always, my quality control supervisor assisted with this project. Here he is performing a cat-scan on the log and trimming a superfluous branch.


Not sure it would have been possible to make these without his help.


Sunday, December 31, 2017

Making Toy Grasshoppers

These grasshoppers (and ones like them) have been a real go to gift for me over the last few years. Simple to make and really satisfying to finish. You can knock a few of them out over a weekend and are a great project that doesn't require any special tools or complicated techniques and jigs.

So before I share a few tips, here is my backstory with this toy.

The first one I saw was when I was in college. There was a Christmas craft show set up in the Student Union Building and I purchased one for my niece. I really liked how the legs moved and the classic look it had. (This was during the time I thought I'd never want anything to do with wood working or power tools...aka my "Idiot Years.")

So fast forward 20 something years and I acquire odds and ends of tools, a little experience and a mini library of toy making books. One of them is Jim Makowicki's Making Heirloom Toys. It is a great book with easy to follow illustrations. One of the plans is for this grasshopper. All of my grasshopper are pretty much straight forward from those plans. I highly recommend that you pick up a copy if you want to make some of these.

I'm not going to include a plan here since I've followed Makiwicki's plans for all the ones I have made. If you want to make one and don't have or aren't going to get the book, give this video and download on the Wood Whisper site a look. It is a little different but the same basic idea.

I do a couple of things differently than Mr Makiwicki does. Namely:
  • No antennae 
  • No pull string.
  • For the through holes in the legs, I use a 15/64" bit
  • For the stopped holes in the leg, wheel and body, I use a 7/32" bit
I changed the hole sizes to be a better fit for the pegs I use. The lack of antennae and string are because I like to keep it 100% wood. That's just me.

The "through" holes need to be loose enough to allow the leg to pivot around the peg. The others holes are "stops" that the peg needs to seat firmly and be glued into. My latest batch of pegs needed to be trimmed to length but fit nicely in the leg holes. I found that making a die and checking the pegs beforehand was a big help. If the peg is a little thick, forcing it into and back out of the proper sizing hole saved a lot of sanding and hassle.

The pegs and wheels are purchased from Woodworks Ltd. The pegs are about a nickle apiece and are solid. YES, I could make them but they wouldn't be as nice or as cost effective.

As with making all toys (and maybe all woodworking for that matter) the big time sink is in setups and not so much in cutting. After I made my first one of these I realized that going forward it was silly not to make at least two at a time whenever I was making them. Besides only having one setup on the drill-press and bandsaw, it also lets you get into a rhythm.

So, I've probably made and given away eight or ten of these over the last few years. Several of them to charity auctions. The first few I did I just used a piece of construction 2x4 for the body and painted it with craft store acrylics and then coated with spray gloss acrylic. They come out nice and really have that toy "vibe" about them.


Since I lack imagination, my painted grasshoppers have always been green. In my non-creative skull, grasshoppers are like tanks. They need to be green... or camouflaged. Otherwise, we are just living in Cloud Cuckoo Land.

Over time when I got some nicer wood (in this case maple for the body and red oak for the legs) I finished them with mineral oil and beeswax. I love working with that stuff. Besides the fact that I whipped up a 1/2 quart or so of the stuff for next to nothing, I love that it is non-toxic, actually smells nice (almost like honey if you ask me) and is super forgiving.

Here it is half applied to a piece of maple. You can see the warmth it adds. However, it isn't a stain. The oil penetrates and preserves the wood but it isn't going to protect the way a hardcore finish will. The trade-off of a great look, feel, added safety and ease of use all make it a good choice for me. Lots of places to find the formula and safety tips on the web but I found mine on a Wood Toymaker video link here.


The eyes are 1" dowels. Since I don't have a lathe,  I "turn" them using my stationary belt sander. I'll take a long length of 1" dowel, hold it it at angle against the belt sander and keep spinning it in my hands while changing the angle slightly. Keep you hands away from the belt and have the dowel facing "down stream" so it won't catch on the belt. It only take a minute of so and you have a rounded-ish end. I usually finish the rounding with a palm sander. Then you just cut it to length. I've experiment with Danish Oil, black paint and just the beeswax and mineral oil finish on the unpainted grasshoppers. All seem fine. Whatever works.

Speaking of works... here are a couple of them being tested out:


So there you go. Again, these are easy to make and make wonderful gifts. I recommend picking up a copy of Jim Makowicki's Making Heirloom Toys but if you search for plans on the internet, they can be found along with design ideas if you want to give creating a design of your own a shot.

Last tip - It never hurts to have another set of eyes (and paws) to make sure everything is coming together properly. All those parts aren't gonna knock themselves on to the floor.


Just Saying...

While we don’t necessarily need more objects, we just might benefit from more making.
- John Dunnigan

Followers

About Me

My Photo
Regular guy who likes to make stuff who lives with a very patient wife, three daughters and three cats.