As I said in
Part 1, this is a proof of concept/first try and although I had more than a general idea going in, I've found that a couple of things had to be done differently than I first expected. No biggie. Seeing what works and how to do it better is just part of the process. (
And dare I say... part of the fun.)
I found that I needed to change two things once I moved from paper and pencil to wood and glue on this toy. The first one is the most obvious - the main gun.
This is how it looked originally with the side armor clamped in place just to check the fit. The front and backs are from a 2x3 cut to size with the grain running side to side. I drilled a pilot hole and then used a scroll saw to cut the hole for the gun and made the sloping cuts with a band saw. It wasn't that this was bad; it just wasn't as good as it could be.

The 3/4 hole and dowel at the front of the hull worked well, but the more I looked at it, the less it looked right. The dowel needs to be farther forward to more closely match the original look. Now, like I've said, I'm not trying to make a scale model, but I think having the curve of the gun mount showing and being far forward really helps to capture the look of the original tank.
So the second front (
wait, that's a WW2 reference...) used a slightly thicker piece cut from a 1" thick board cut to the correct height. I drilled a 1/2" hole about 1/16"-1/8" from what will be the edge that is glued to the hull. I used a forstner bit and cut from the
bottom of the front block to within about 1/8" from the top of the block. Clamp everything securely. Be careful with the bit (
it is wicked sharp) and be sure not to drill all the way through the block.
Now with that hole drilled, I cut the angles from the center to the sides using the bandsaw. I taped the piece firmly to another larger block for all these cuts so that it would be held perpendicular to the blade and my fingers were well out of the way. With the piece on its side, I made multiple cuts with the bandsaw to expose the area where the main gun and the dowel that holds it will be exposed.
(
Well, time for me to act like a dad and give some advice. Look, be smart. You can buy new wood. As of this morning, you can't buy new fingers. Take your time, keep your fingers away from the cutting path of the blade and if that little voice says, "I don't think this is such a good idea..." LISTEN TO IT!)
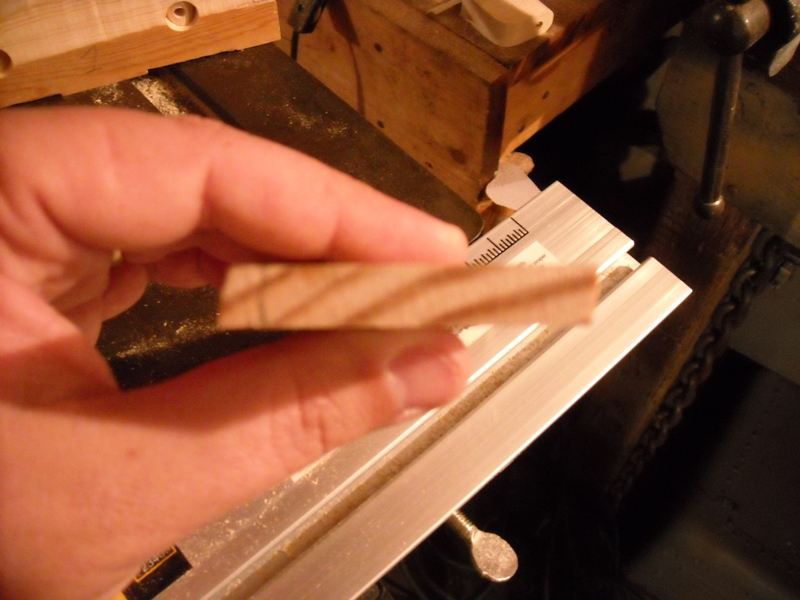
To get the needed trapezoid shape, I kept it simple by laying it flat on the bandsaw table and cutting straight lines with the piece held at an angle. Since that left the edge a little thicker at the top than at the bottom, I used the belt sander to remove the excess. Then, with the gun turret hole opened and sanded, I put a 1/2" dowel with a 1/4" hole drilled in it to hold the gun. The pivot dowel was sanded so that it would rotate smoothly and cut short enough so that I could put another 1/2 dowel under it to 'plug' the hole. The plug isn't sanded so it has a pretty tight fit but I did glue it.
After the plug dried, I taped the front piece to a thick block and cut the downward sloping angle on the front with the bandsaw. I cut a piece of 1/4" dowel for the barrel of the main gun and now the new front is finished.
The other change to the design was where the chassis attached to the hull. Basically, I realized that the tracks needed to be taller so that the wheels wouldn't brush against the bottom of the chassis. However, if I did that the tank would stand too tall for scale. I decided to cut wheel wells out of the chassis to give enough clearance. On the next tank, I'll just make the hull a little less tall and the tracks a little taller to make up the difference.
Wow, that's confusing. Look, here is what happened -
The armor sides sit at about a 10 degree angle. I just adjusted the angle on the table saw and cut the tops of the hull and the sides of the chassis. I then glued and clamped the pieces together. (Next time, I'll just glue an over sized chassis piece and cut the 10 degree angle through both pieces at the same time.)
The armor sides, like the chassis, are made from 3/8" wine crate wood. These also have a 10 degree bevel on them so that the tops and bottoms will be horizontal once they are glued to the body of the tank.
The front and back edges of the armor plates don't have an angle. The front and back pieces will glue flush up against them.

Don't worry if the armor overlaps the top, front and back of the hull. As long as it isn't too great, a quick visit to Mr Belt Sander will make everything nice.
On to Part 3 - Assembling the Armor Sides and Hull


 The 3/4 hole and dowel at the front of the hull worked well, but the more I looked at it, the less it looked right. The dowel needs to be farther forward to more closely match the original look. Now, like I've said, I'm not trying to make a scale model, but I think having the curve of the gun mount showing and being far forward really helps to capture the look of the original tank.


 Don't worry if the armor overlaps the top, front and back of the hull. As long as it isn't too great, a quick visit to Mr Belt Sander will make everything nice.


